*VHD 只支持Windows 7 和Windows Server 2008 R2*
部署環境
WDS + DHCP + AD: Windows Server 2008 R2
Reference Image: Windows XP SP3 + Application + Sysprep Tool
A.新增Capture Boot Image 來抓取 Reference Image
準備一部Reference 電腦, 安裝完Windows 和 所有Applications並執行sysprep tool 來準備capture image. (Sysprep Tool 在Windows XP SP3 安裝碟內\tools\deploy.cab)
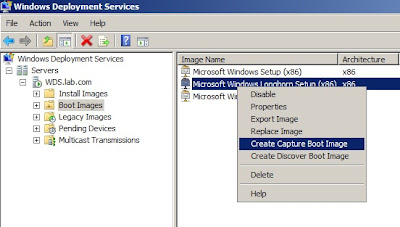
B. 打開WDS 控制台, 在已加入了Boot Image 按滑鼠右鍵, 選擇”Create Capture Boot Image”, 按指示選好儲存位置和更改名稱, 如: Microsoft Windows Capture Setup (x86) 及在Install Images 建立Image Group “WinXP”
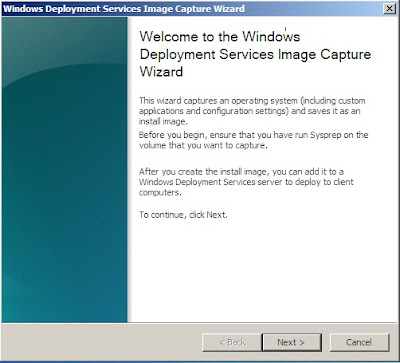
C.開啟Reference Computer 並選擇Boot from Network, 會出現開機選單, 選擇Windows Capture Setup (x86) 開機, 等一會便出現以下畫面
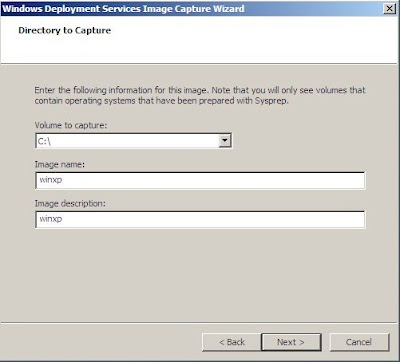
D. 向下箭咀選取”C:\” (一定要執行了sysprep, 才可以選取) 為Image 檔改名和Description
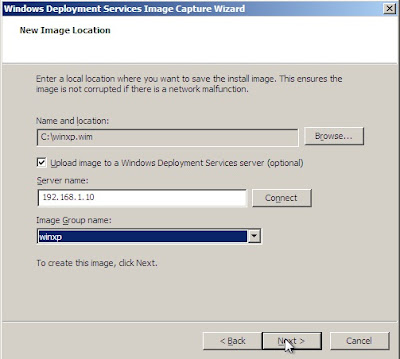
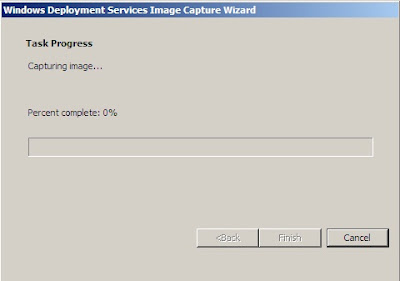
E. 上載到WDS Server 上
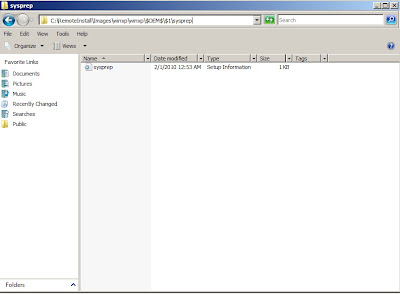
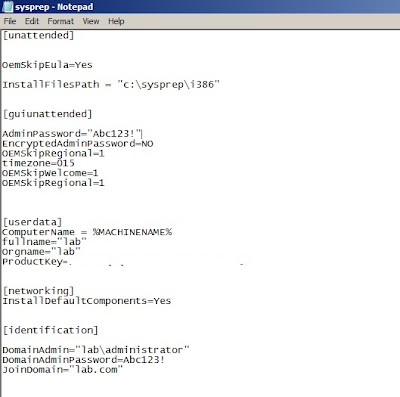
F. 在C:\RemoteInstall\Images\winxp\winxp建立$OEM$\$1\sysprep 資料夾, 建立sysprep.inf 並儲存這個資料夾下(因為Windows XP 不支援unattended.xml 做answer file)
沒有留言:
發佈留言